
ND Blocking & Previs
A simple blocking and previs tool for filmmakers
It started with a pretty simple problem
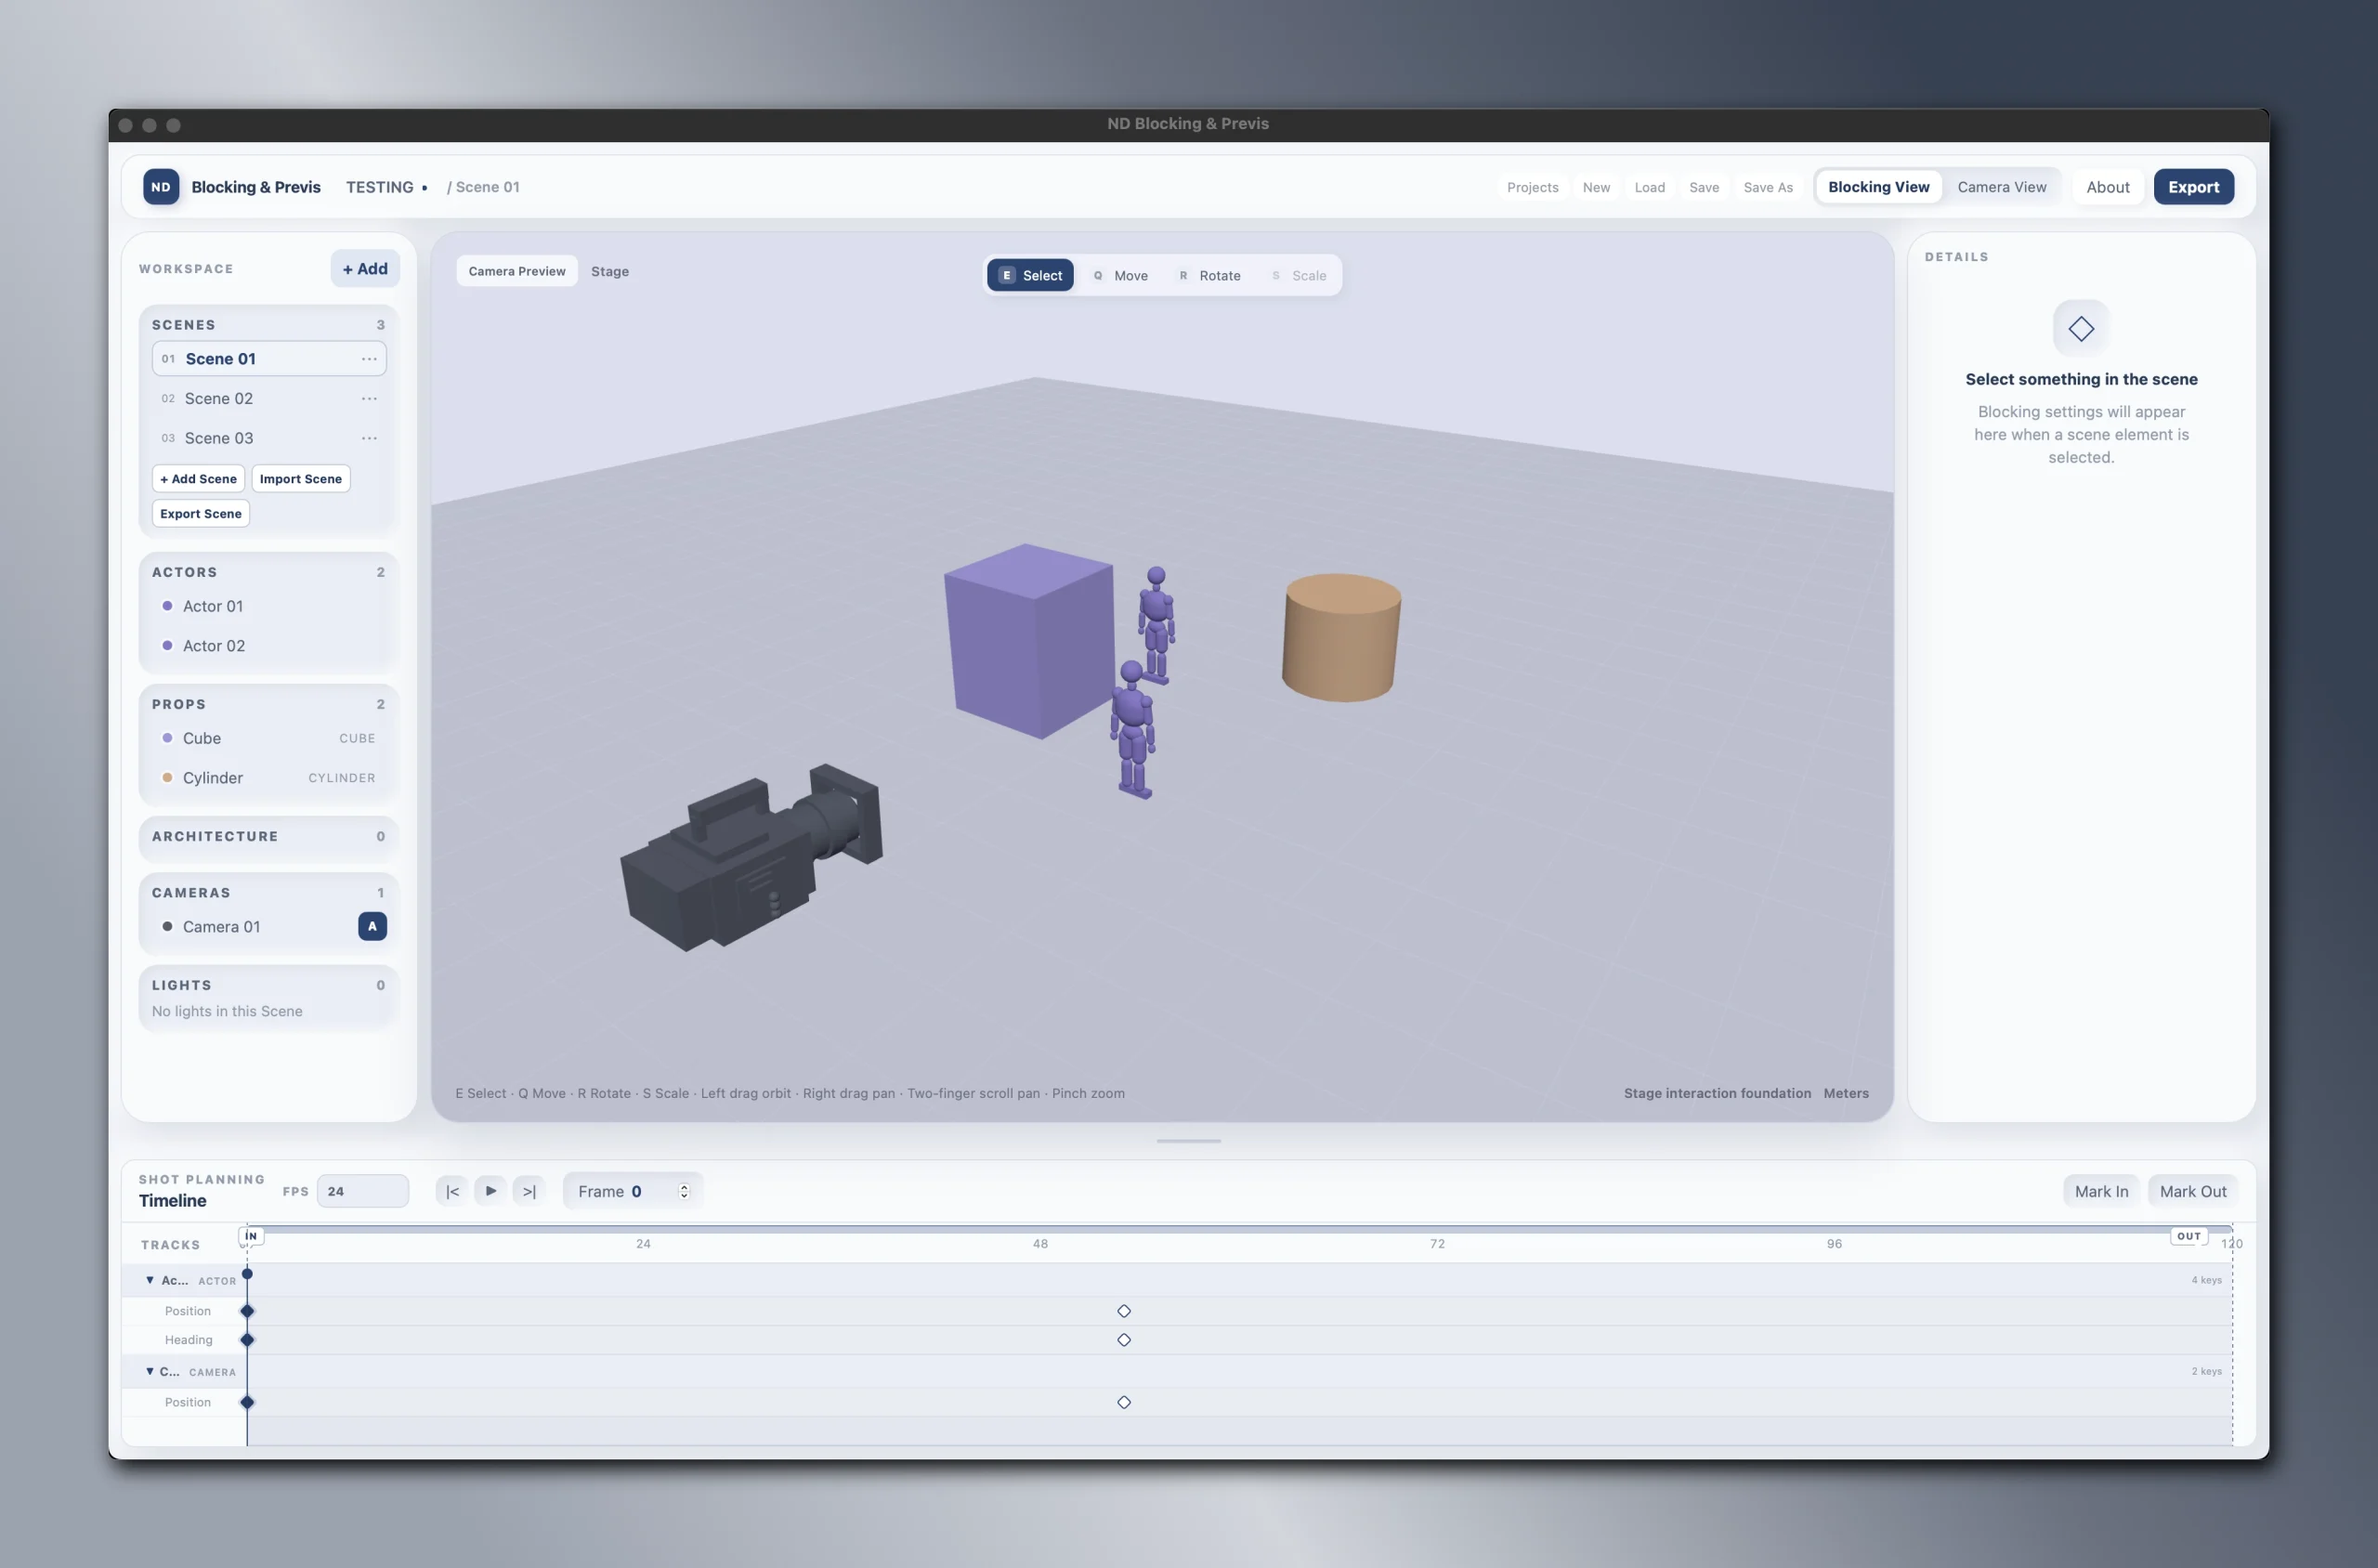
I wanted a faster way to block a scene, place a camera, test framing and preview simple movement, without opening a full 3D package. Before a shoot, there are times when I just want to answer a few basic questions. How will the camera move? Does it align with the director’s treatment? Is this exactly what the director had in mind? None of these questions are particularly complicated. But finding a quick way to answer them can be. A lot of tools tend to sit at one of two extremes. They are either very simple 2D planning tools, or they are full 3D applications capable of building entire worlds. Both are useful. But neither was quite what I wanted for this particular job.
I didn’t need another Blender
Blender, Unreal Engine, and professional previs applications are incredibly powerful. But most of the time, I don’t need realistic characters, detailed materials, simulation, mocap, complex lighting, or a complete virtual production environment. Sometimes I just want to know:
Where is the actor?
Where is the camera?
What lens am I using?
What does the frame look like?
Does this blocking actually work?
And ideally, I want to answer those questions in a few minutes. That was really the starting point for ND Blocking & Previs.
So I started building the tool I actually wanted
The first version was intentionally small. A Stage. A simple Actor. A few Props. A Camera. Enough controls to move everything around and get a rough idea of the scene. The idea was never to build a complete 3D package. I just want to create something that I can use during pre-production to work with the director on camera shots.. And as I started using it, new features were added for a very simple reason: I kept running into real planning problems that I wanted the tool to answer.
First, I needed to block the scene
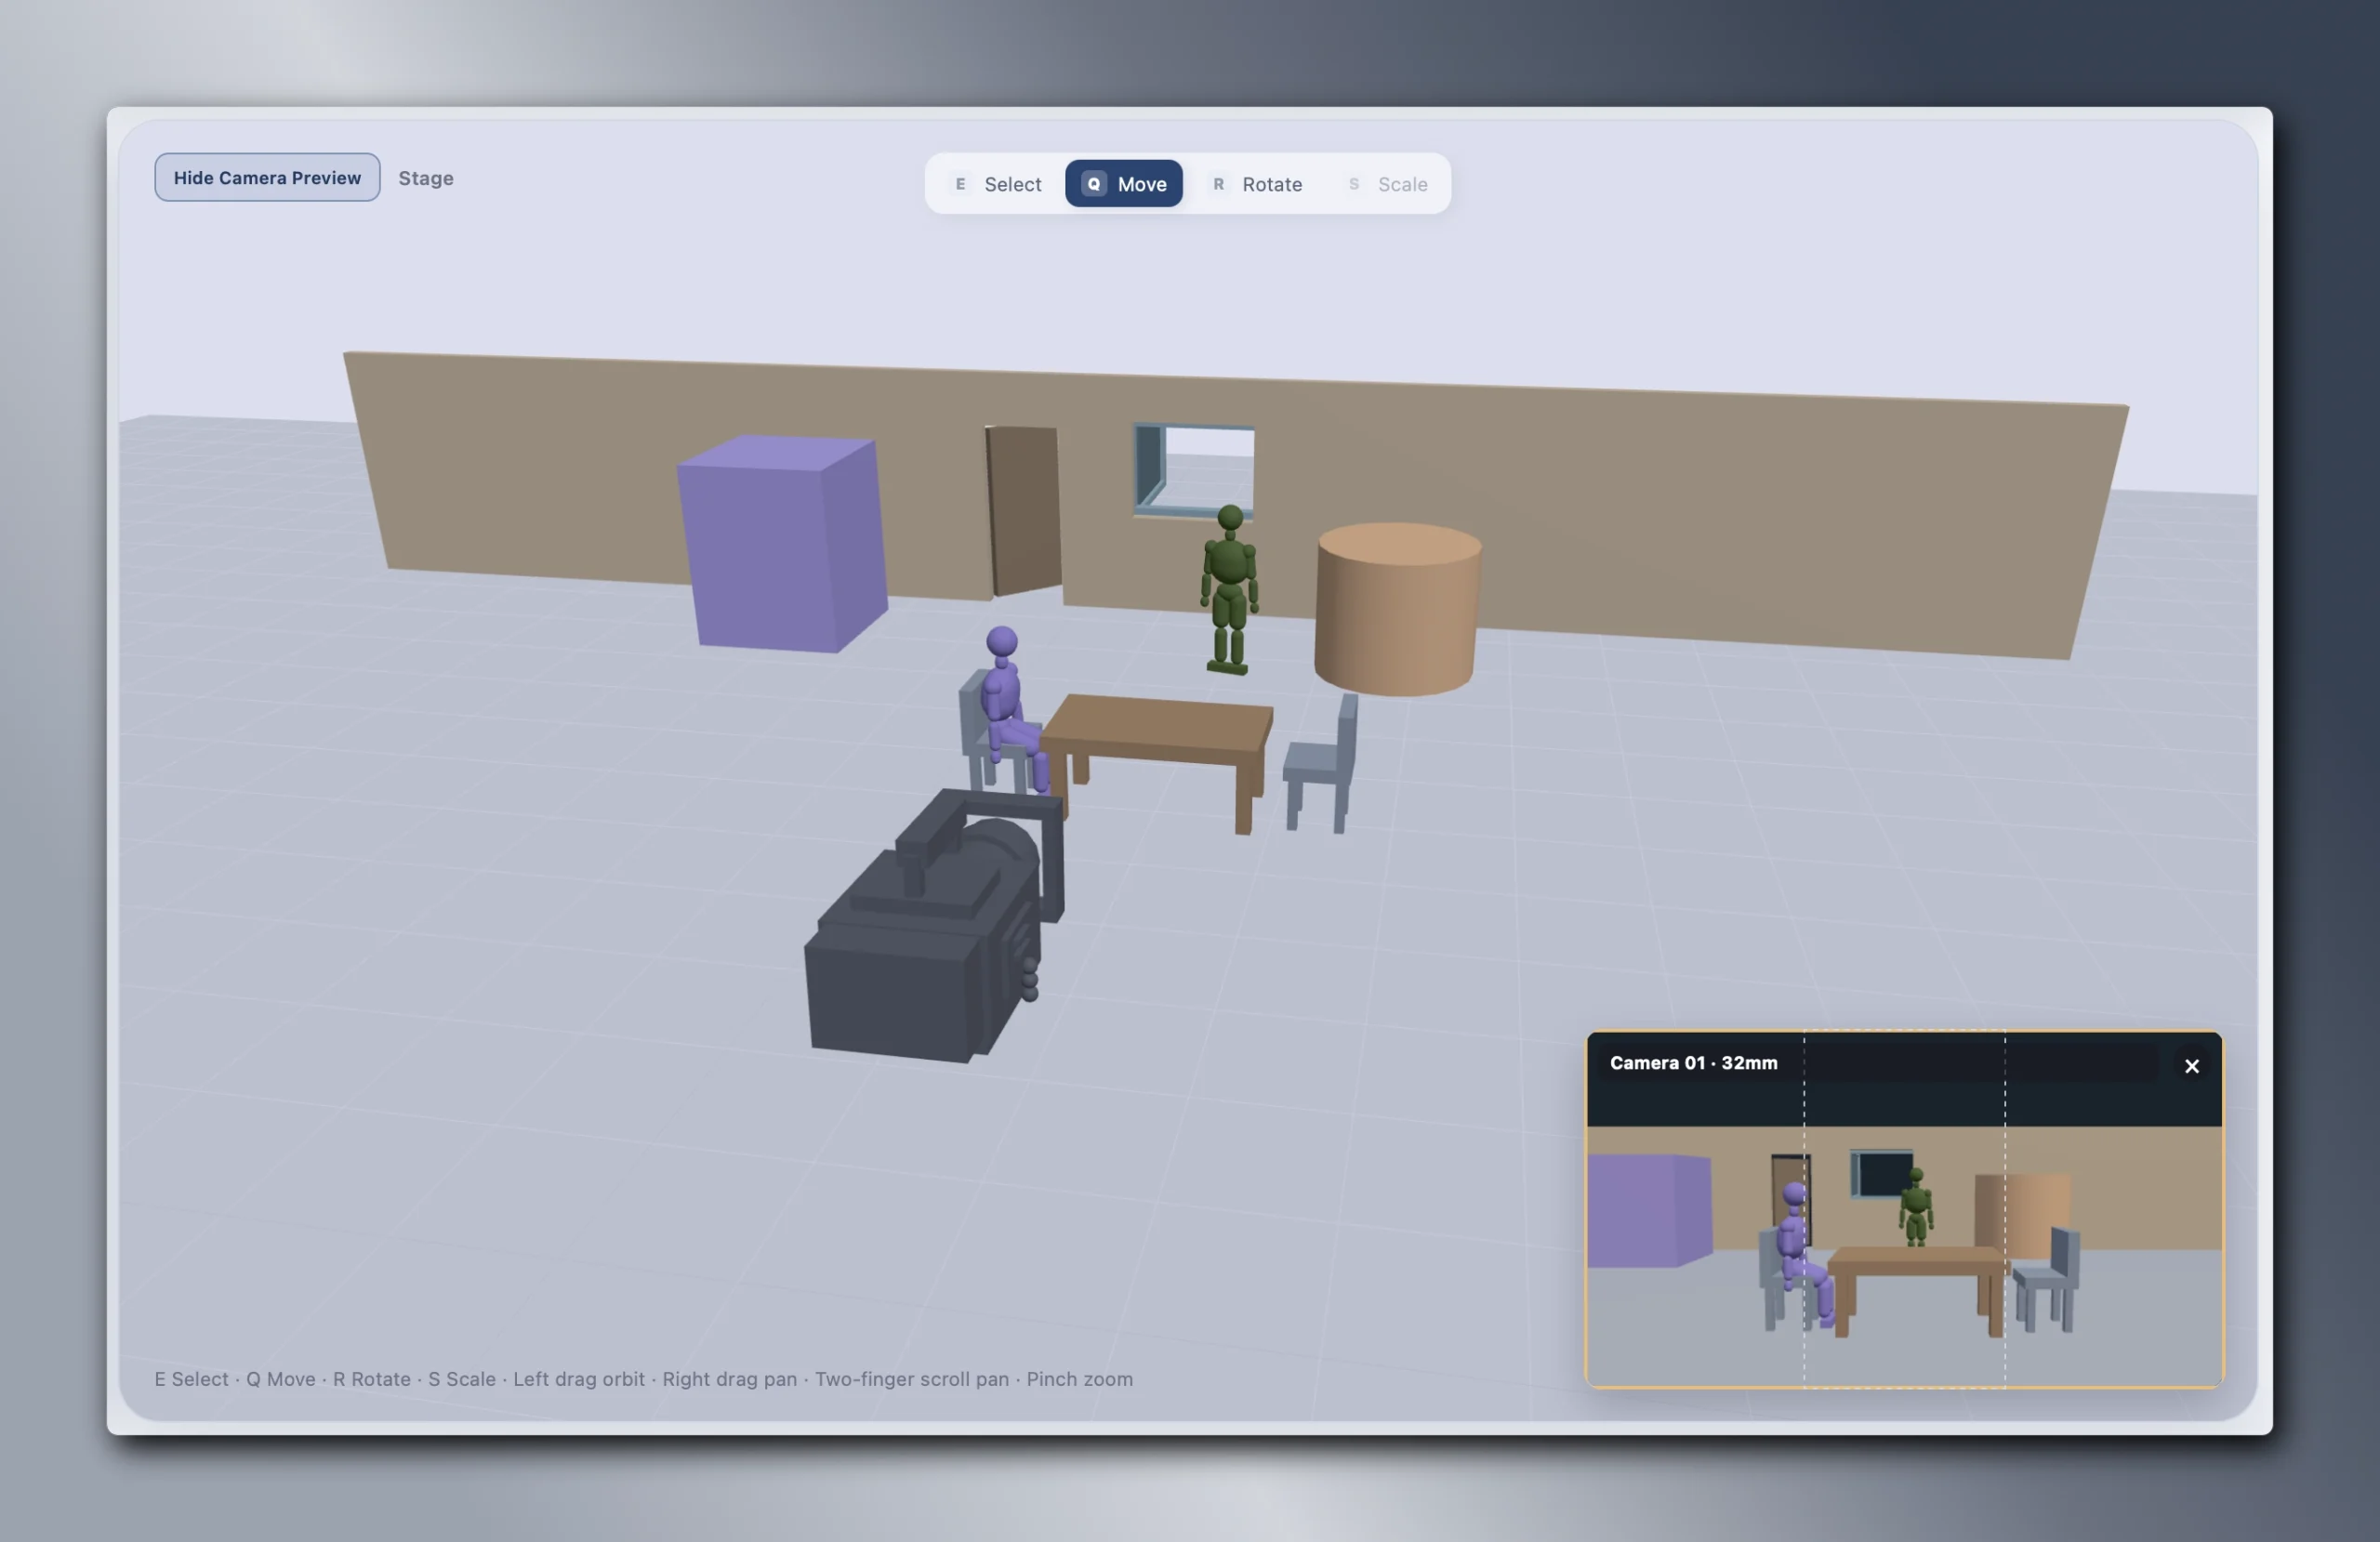
The most basic requirement was being able to place actors in a space quickly. Add an Actor. Move them. Rotate them. Put another Actor somewhere else. Add a Chair, Table, Wall, or another simple object to establish the space. That alone already makes it easier to understand a scene than looking at a written shot list. But there was another problem. If every Actor stands upright in exactly the same pose, the blocking can still be difficult to read. So I added simple Pose presets. They are not character animation. There is no complex rigging workflow. They are simply there to make the blocking easier to understand. An Actor sitting at a table should actually look like they are sitting at a table. That is enough.
Then I needed some kind of space around them
Blocking without context only gets you so far. So the tool gradually gained simple architectural elements: Walls. Doors. Windows. Basic Props. Again, the goal was never architectural modeling. I just wanted enough information in the scene to answer practical questions. Will the actor enter through this door? Does this wall make the shot feel too cramped? From this camera position, can I still capture the angle I want? If the scene is readable enough to answer those questions, it is doing its job.
Then the camera became the important part
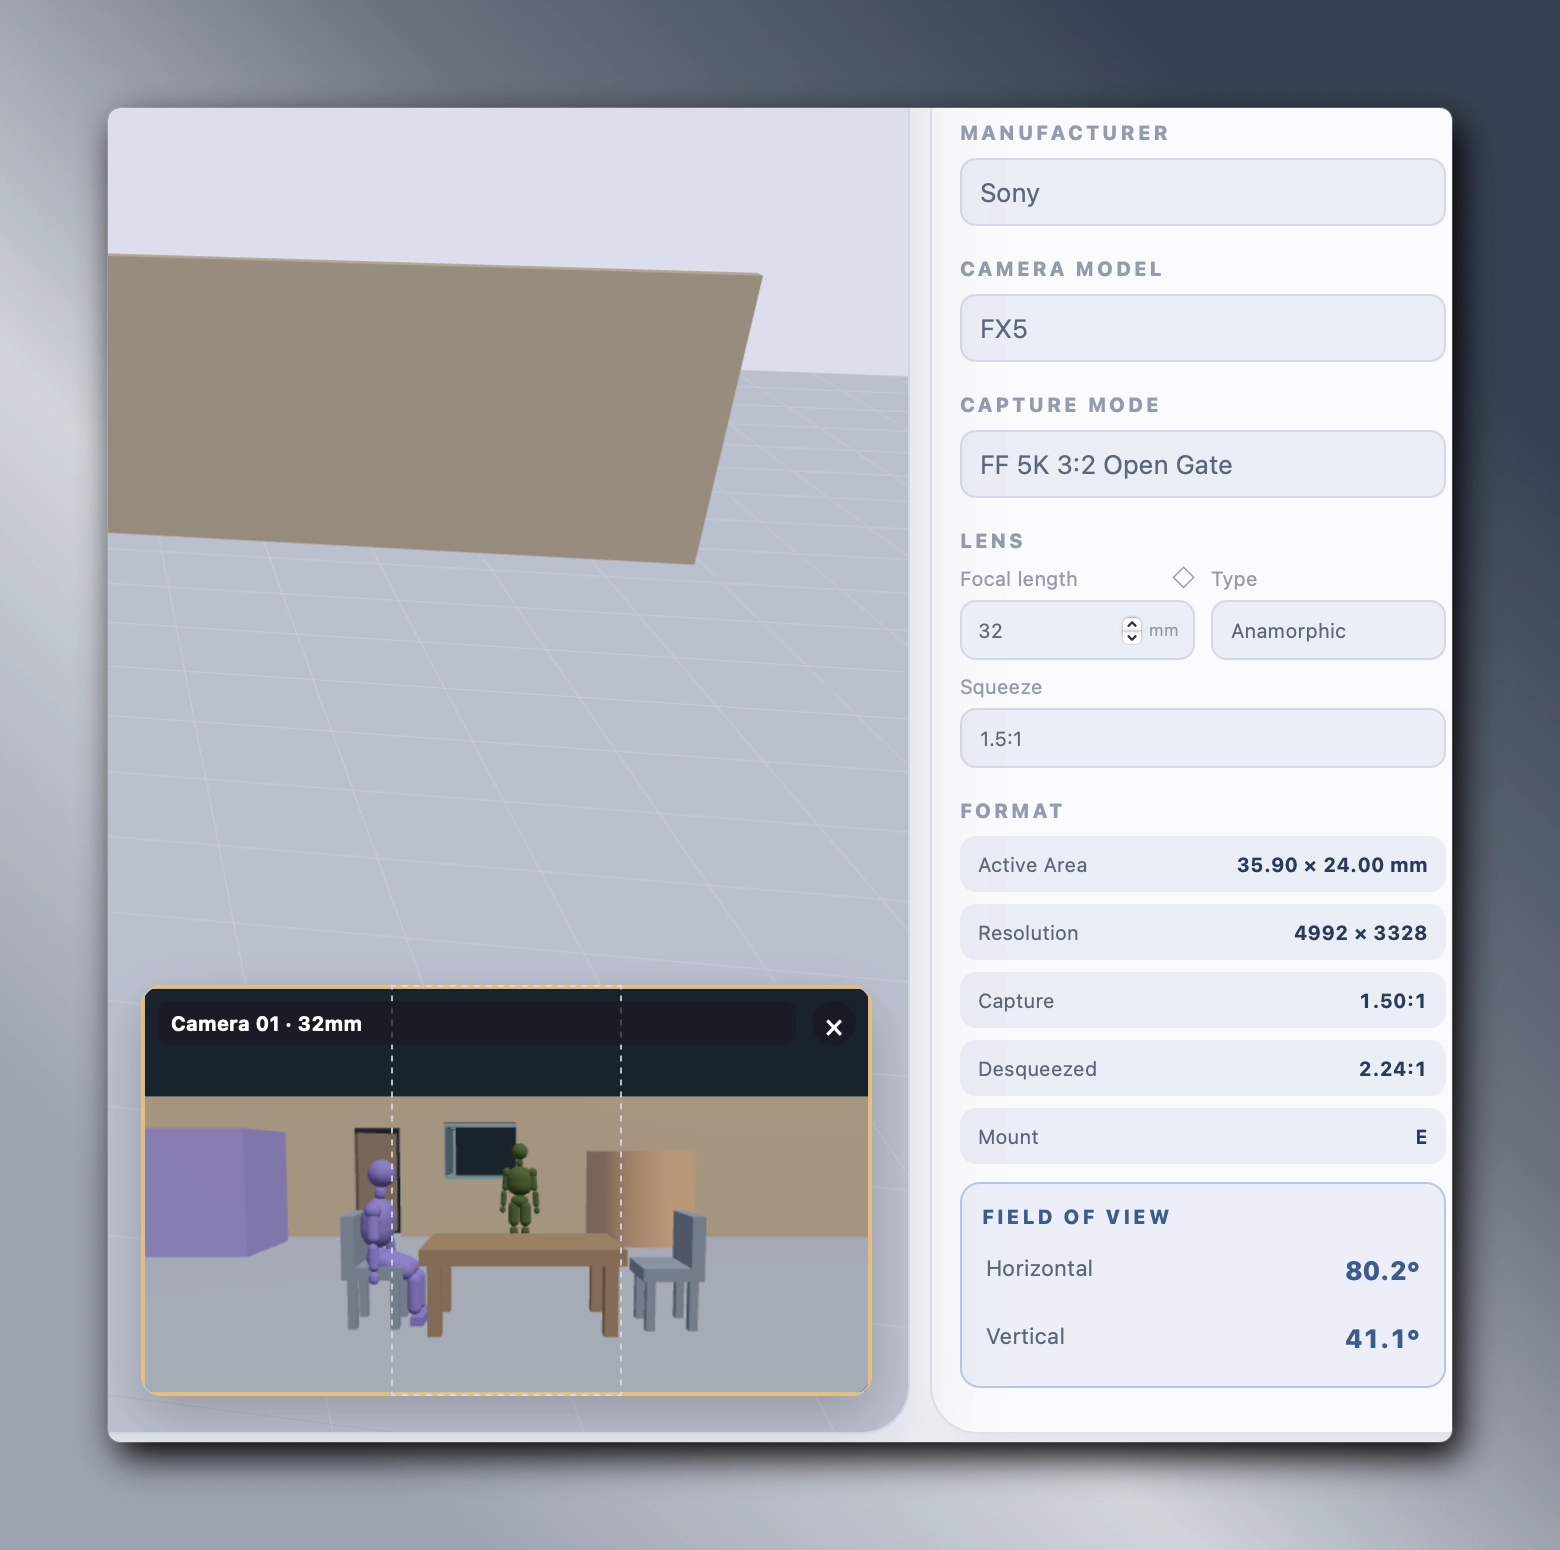
Once the blocking worked, the camera quickly became the part I cared about most. Because blocking only really becomes meaningful when I can see it through the camera. And this was also where I didn’t want a generic 3D camera with just a simple FOV value. As a DOP, I naturally think in terms of: Camera body. Capture mode. Sensor area. Focal length. Anamorphic squeeze. Delivery frame. Frame guides. So the Camera system gradually became much more filmmaking-oriented. The tool now separates things like: Physical Sensor, Active Capture Area, Recording Resolution, Delivery, because those are not always the same thing. If I choose a particular camera, capture mode, and focal length, I want to frame it the way I would see it on set.
I wanted the project to travel with me
So ND Blocking & Previs uses its own project format: .ndblock
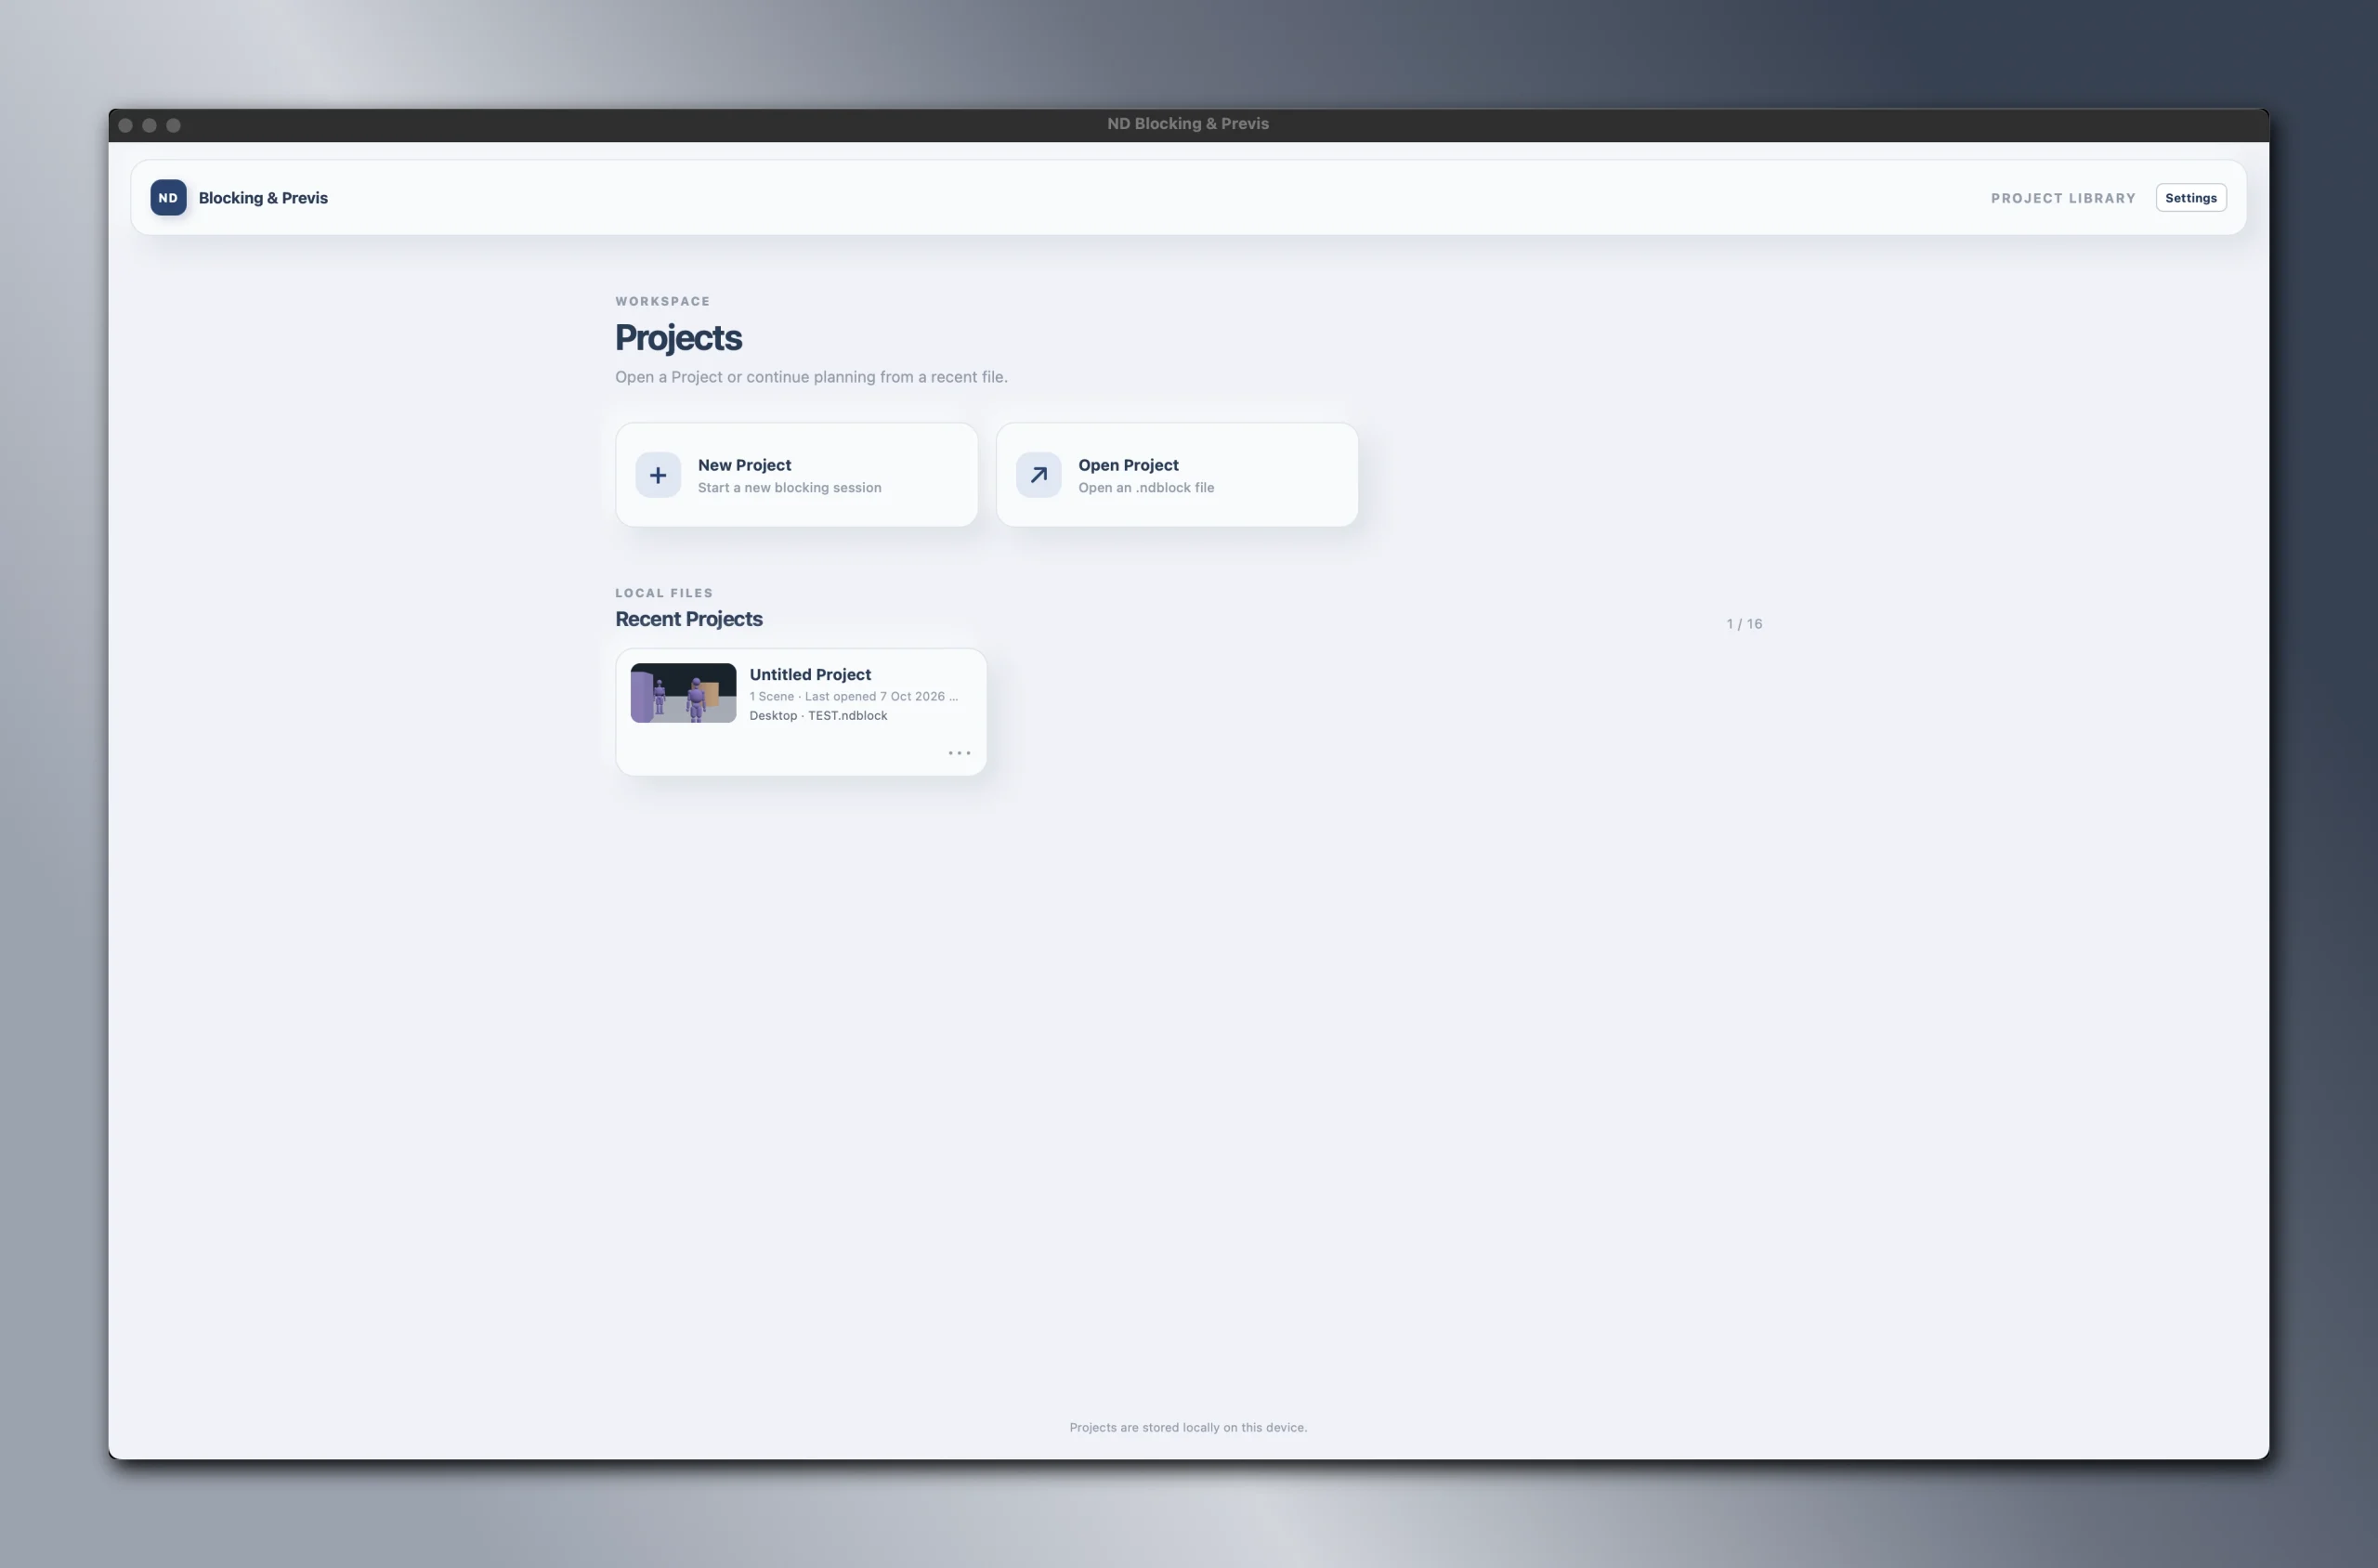
A project can contain multiple scenes and preserve the blocking, cameras, Timeline, guides, and other creative settings. More importantly, the project can move between platforms. I can start something in the Web version, save the .ndblock file, and continue working in the desktop app. Or go the other way. That mobility gradually became a crucial part of the overall concept behind the tools I create.
What does it actually solve?
For me, the useful part is that ND Blocking & Previs can now answer a lot of small questions before the shoot. Does this blocking make sense? Will the Delivery crop make the composition awkward? Does the camera move work? Can I show the idea to someone else without building a full 3D scene? Those are the problems I wanted it to solve. Everything else is secondary.
Frequently Asked Questions
Quick answers to common questions about ND Blocking & Previs
No. And that is intentional.
It is focused on blocking, camera planning, framing, and simple movement. It is not intended to replace Blender, Unreal Engine, or professional previs software.
Yes.
.ndblock projects are designed to move between the Web and desktop versions.
The Camera system supports camera bodies, capture modes, focal length, active capture area, anamorphic squeeze, Delivery framing, and Frame Guides. The goal is to make the Camera workflow feel closer to the way cinematographers actually think about framing.
Yes.
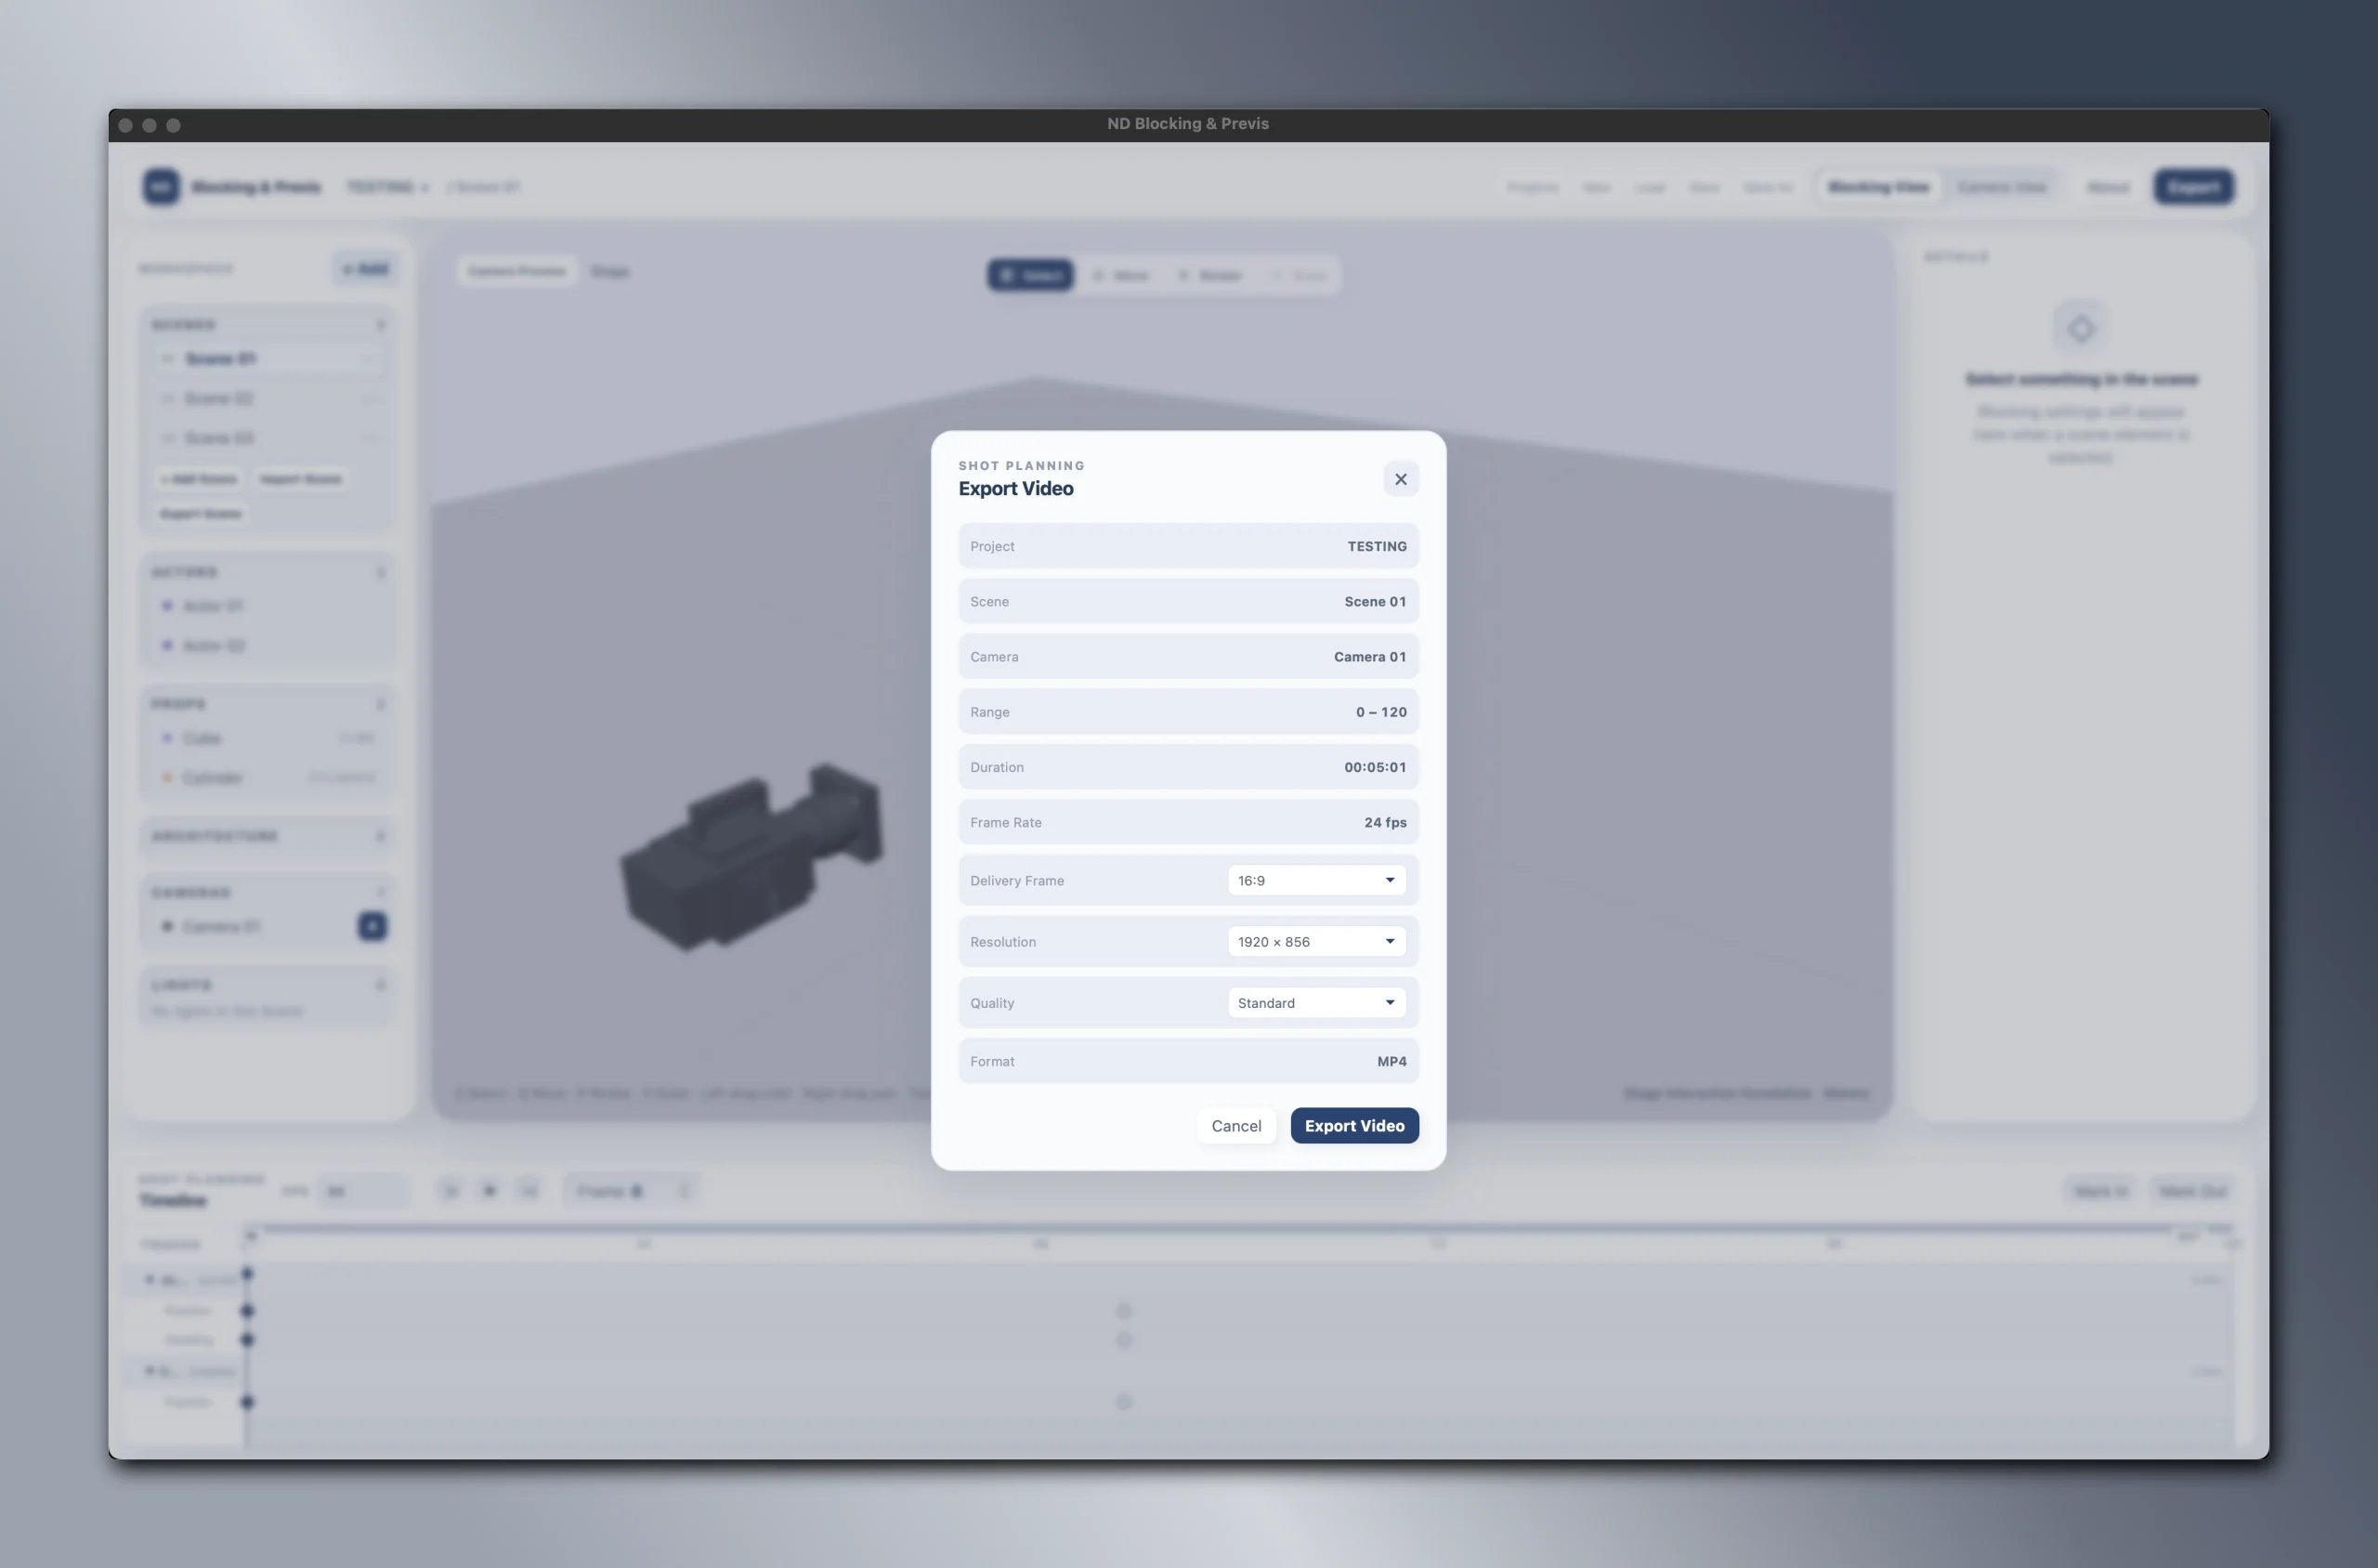
The Web version supports browser video export. The desktop app supports native H.264 MP4 export. These exports are intended for previs and review rather than final delivery.
ND Blocking & Previs is currently being released as a Beta. The Web version is available to use directly, and the macOS Beta can be downloaded from the current release.